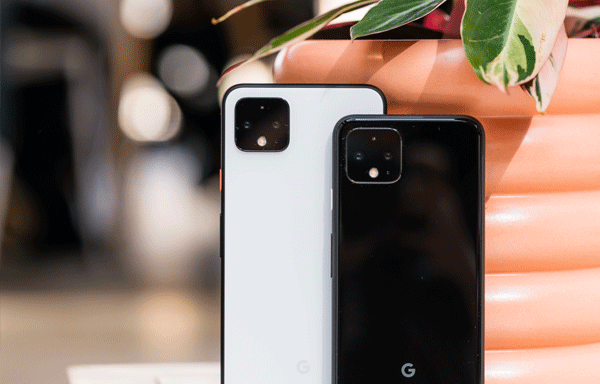
Your Google Pixel phone boasts a powerful camera capable of capturing images with stunning clarity. However, there are situations when you might want to adjust the camera resolution to suit different scenarios. In this informative blog, we’ll walk you through the process of changing the camera resolution on your Google Pixel device, empowering you to capture photos that match your vision.
1. Open Camera App: Begin by opening the camera app on your Google Pixel phone. You can do this by tapping on the camera icon from your home screen or app drawer.
2. Access Camera Settings: Look for the settings icon within the camera app’s interface. This icon is often represented by a gear or three dots and is usually located at the top or along the edges of the screen. Tap on this icon to access the camera settings.
3. Navigate to Resolution Settings: Within the camera settings, search for the resolution options. These might be labelled as “Camera Resolution,” “Image Size,” or something similar.
4. Choose Desired Resolution: Tap on the resolution option to reveal a list of available resolution settings. Typically, you’ll see options such as “High,” “Medium,” and “Low.” Each setting corresponds to a different level of image quality and file size.
5. Select Preferred Resolution: Choose the resolution setting that aligns with your preferences and the context of your photo. Higher resolutions offer greater detail but result in larger file sizes, while lower resolutions sacrifice some detail for smaller file sizes.
6. Confirm Selection: After selecting your desired resolution, the camera app might display a preview of the change or simply update the selected option. Some apps might require you to exit the settings menu to apply the change.
7. Take Test Photos: Capture a few test photos using the new resolution setting to observe the difference in image quality and file size. This will help you gauge the impact of your selection.
8. Editing and Sharing: Keep in mind that higher-resolution photos offer more flexibility for editing without compromising quality. On the other hand, lower-resolution photos are easier to share and store due to their smaller size.
9. Restoring Default Resolution (Optional): If you’re unsure about the ideal resolution setting, or if you want to return to the original default setting, most camera apps offer an option to “Reset to Default” within the resolution settings.
10. Experiment and Discover: Changing the camera resolution provides you with creative control over your photography. Experiment with different settings to find the resolution that best suits your needs and the specific moments you’re capturing.
Repair your device without going to the service center.
